


VMware vRealize Automation 8 provides several methods for applying custom naming to deployed virtual machines. This article will explore a few of these.
The testing/development within this article was based on vRA 8.2. VMware are providing frequent updates to the vRA product and some areas may be different if you are using an older/newer version.
We will only be focusing on the naming of the virtual machine object, not the hostname/FQDN within the VM OS.
The blog covers the following methods:
- No Custom Naming / Out-of-the-Box Default
- Name Property
- Project Custom Naming Template
- ABX Action
- vRO Workflow
#No Custom Naming / Out-of-the-Box Default
If you do not apply any of the methods below, vRA automatically names the deployed virtual machine based on the following:
- Resource name (e.g.
SERVERorCloud_Machine_1) mcm###(provided by vRA)############(provided by vRA)
In this instance our Cloud Template looks like this…
name: Custom Naming Test
formatVersion: 1
inputs: {}
resources:
  SERVER: # This is the resource name used, by default it will be something like Cloud_Machine_#
    type: Cloud.Machine
    properties:
      image: 'TF-CentOS7'
      flavor: 'B'
Final result for our VM name: SERVER-mcm809-174067533632
#Name Property
Extending slightly on the method above, we could pass in a custom value to the name property under our Compute resource. I am using static values in the example Cloud Template, but this could be more dynamic through the use of Inputs.
name: Custom Naming Test
formatVersion: 1
inputs: {}
resources:
  SERVER:
    type: Cloud.Machine
    properties:
      name: 'myservername' # This overwrites the resource name above
      image: 'TF-CentOS7'
      flavor: 'B'
Final result for our VM name: myservername-mcm812-174067802073
#Project Custom Naming Template
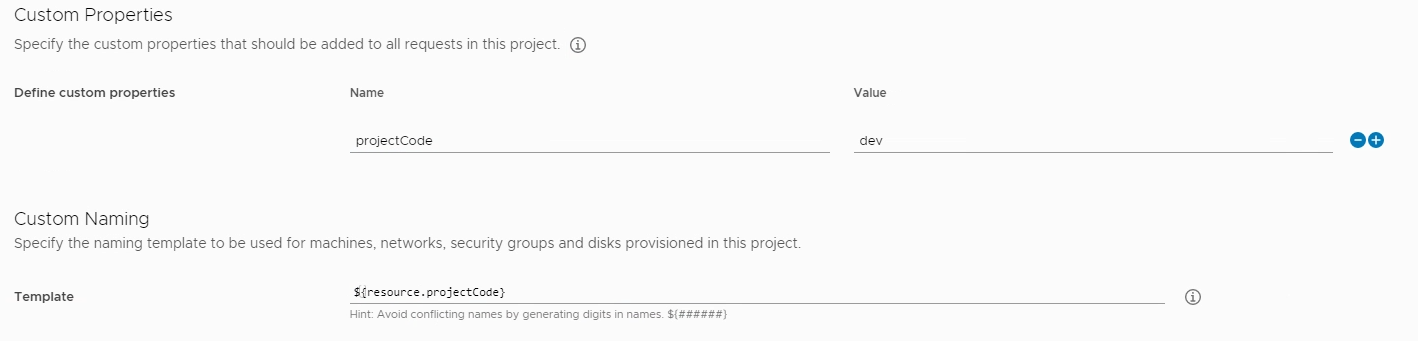
A Project Custom Naming template can be applied to each Project within vRA. This naming template is then applied to machines, networks, security groups and disks provisioned under the Project.
The Custom Naming template used for this example looks like this: ${resource.serviceTier}-${resource.environment}-${resource.role}${####}${resource.datacentreLetter}

To make this Cloud Template work, we need to provide values for the properties role, serviceTier, environment and datacentreLetter. In the Cloud Template example below, under the machine resource we have the properties section, this is where we put our required values. Again, these could be driven by Inputs.
The #### value within the custom naming template is replaced at deployment time by numbers, this is managed by vRA. This is not required but helps to ensure resource names are unique if you don’t have any other method of checking for uniqueness (suggestions for this in the vRO section below)
name: Custom Naming Test
formatVersion: 1
inputs: {}
resources:
  SERVER:
    type: Cloud.Machine
    properties:
      role: 'web'
      serviceTier: 'silver'
      environment: 'dev'
      datacentreLetter: 's'
      image: 'TF-CentOS7'
      flavor: 'B'
Final result for our VM name: silver-dev-web0277s (serviceTier-environment-role####datacentreLetter)
In addition to using Properties from the Cloud Template you can utilise the Custom Properties section within the Project. These can then be referenced with ${resource.propertyName} in the Custom Naming template.
#ABX Action
vRA provides an ABX template that can be used for renaming a resource, by default this expects a property called newName. We will modify the action slightly to use the properties in our existing Cloud Template.
As the properties we added are “custom properties” we will need to pull them from the customProperties object as part of the inputs.
exports.handler = function handler(context, inputs) {
//Get original resource name
let oldName = inputs.resourceNames[0];
//Get random number
let number = Math.floor(1000 + Math.random() * 9000);
//Retrieve required properties
let customProps = inputs.customProperties;
let role = customProps.role;
let serviceTier = customProps.serviceTier;
let environment = customProps.environment;
let datacentreLetter = customProps.datacentreLetter;
//Construct new name
let newName = serviceTier + "-" + environment + "-" + role + number + datacentreLetter;
//Return new name as "outputs"
let outputs = {};
outputs.resourceNames = inputs.resourceNames;
outputs.resourceNames[0] = newName;
console.log("Setting machine name from '" + oldName + "' to '" + newName + "'");
return outputs;
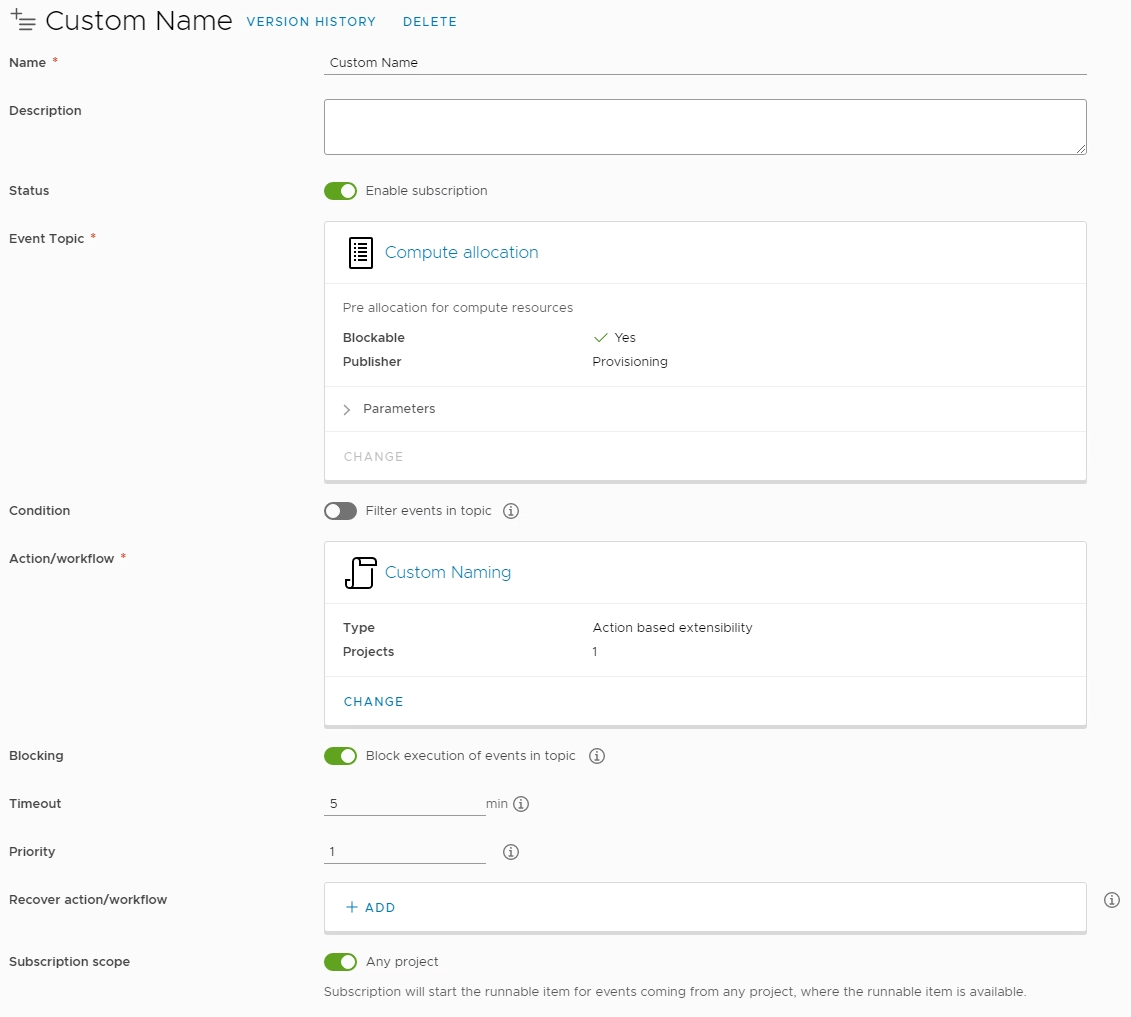
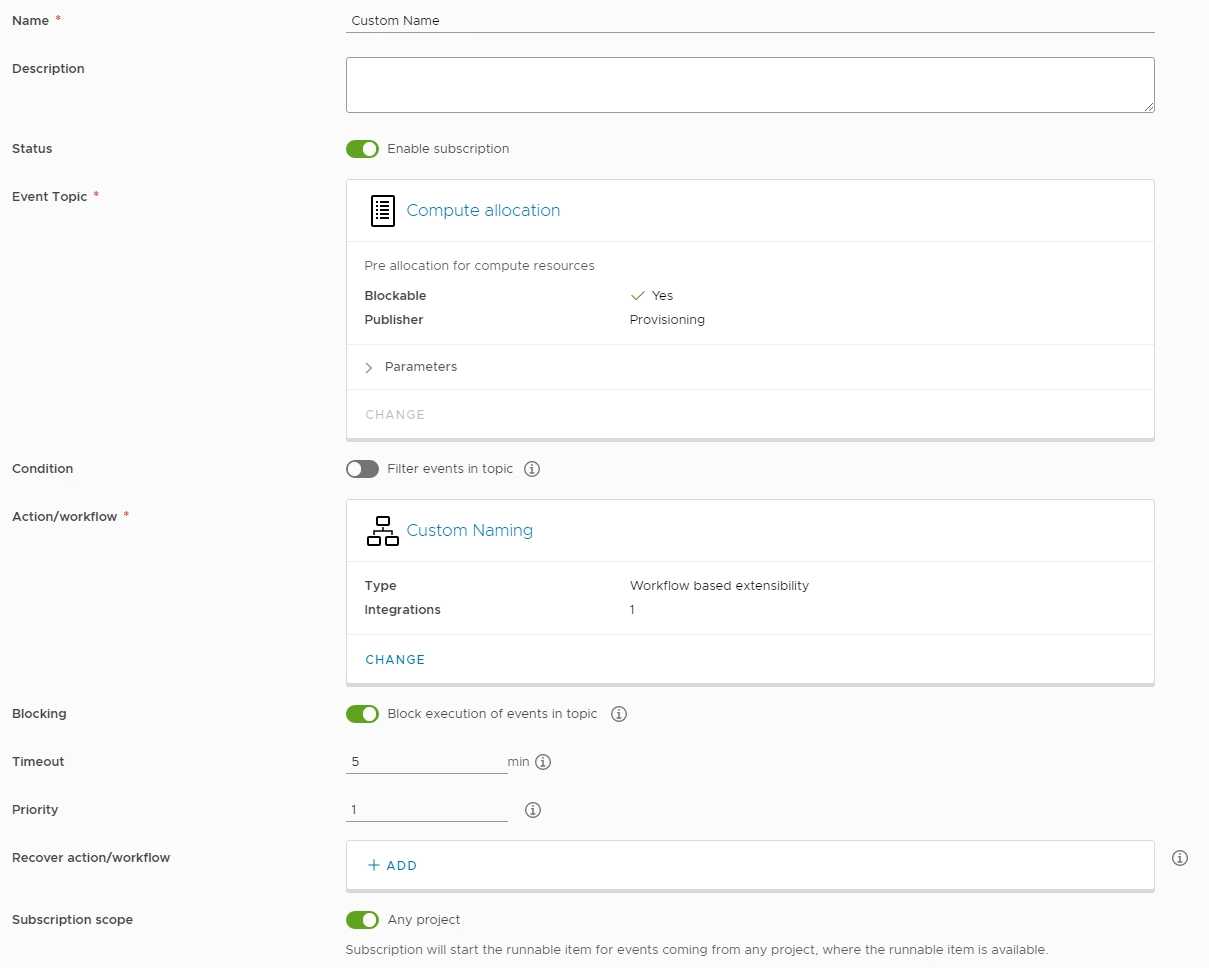
};Once the action has been created we will add a Subscription and subscribe to the Compute allocation event.
Final result for our VM name: silver-prod-web6769s (serviceTier-environment-role####datacentreLetter)
#vRO Workflow
An alternative to the ABX action is to utilise vRealize Orchestrator. We can use almost the same code within our workflow to generate our name, with a few changes.
I won’t go in to detail on how to use vRO here, but there are some additional reference at the bottom of this post that provide a similar outcome but go into much more detail on how to construct the vRO Workflow.
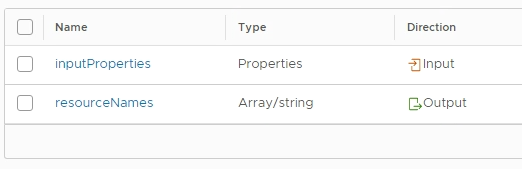
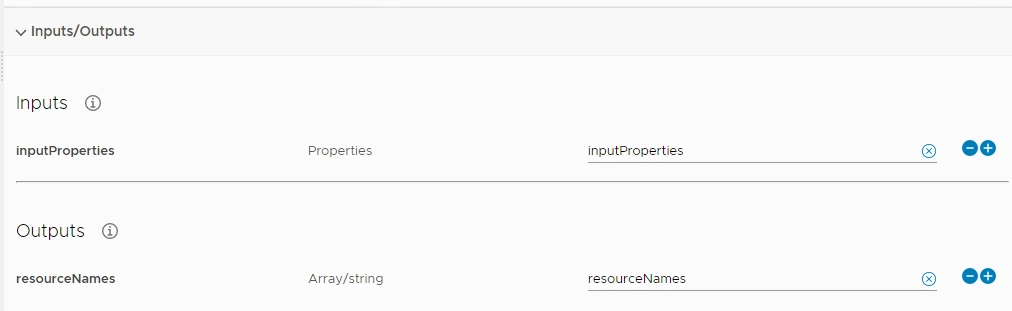
Our workflow needs 1x Input inputProperties and 1x Output resourceNames. The input will be passed to vRO by vRA, and the output then returned to vRA.
For now our Workflow only needs one item, a Scriptable task that we will label Get Properties and Prepare Name.
The script will need the same inputs and outputs as our main workflow.
The code for our script item will be:
//Get original resource name
var oldName = inputProperties.resourceNames[0];
//Get random number
var number = Math.floor(1000 + Math.random() * 9000);
//Retrieve required properties
var customProps = inputs.customProperties;
var role = customProps.role;
var serviceTier = customProps.serviceTier;
var environment = customProps.environment;
var datacentreLetter = customProps.datacentreLetter;

//Construct new name
var newName = serviceTier + "-" + environment + "-" + role + number + datacentreLetter;

//Return new name as "resourceNames"
resourceNames = [];
resourceNames[0] = newName;
System.log("Setting machine name from '" + oldName + "' to '" + newName + "'");
Once the workflow is ready, we just need to update the Subscription that we created earlier and swap out the ABX action for the vRO workflow.
Request your deployment and observe vRO for a Workflow run.
Final result for our VM name: silver-prod-web6477s (serviceTier-environment-role####datacentreLetter)
#Extending the Custom Naming
With the base of our Custom Naming in place, we need to think about duplicate detection and how we handle conflicting names.
One way we could do this is with vRO, we can add additional integrations and endpoints that connect with PowerShell Hosts, Active Directory, ITSM/CMDB systems, and most other things with vRO Plugins or REST API’s.
From here we could use these additional systems to confirm that the name we have generated is unique, for example;
- Active Directory to ensure no other computer objects exist with the same name
- PowerShell Hosts to connect to DNS servers to ensure there are no existing DNS entries for our new name
- CMDB tools to check our name is unique across all other systems, and to also register our new name so we don’t generate it again in the future
Custom Naming is a key aspect of automated deployments, but be mindful that this will rely on other systems to be successful.
#Additional Reading
https://www.stevenbright.com/2020/02/custom-hostname-generation-in-vrealize-automation-8 \ https://blog.v12n.io/custom-naming-in-vrealize-automation-8x-2 \ https://virtuallypotato.com/vra8-custom-provisioning-part-two